Install file manager plugin into your custom CKEditor 5
Adding a plugin to your custom CKEditor 5 build is useful when you already have CKEditor 5 installed and wish to add the plugin. This action requires rebuilding (recompiling) CKEditor 5.
This manual assumes that you have already prepared CKEditor 5 project as described in the official instructions.
Enable the plugin
Make the required changes in your JS file where you define your editor class (extend it from ClassicEditor class, for example):
1. Import the Flmngr and Image plugins:
import Flmngr from "@edsdk/flmngr-ckeditor5";
import {
    ClassicEditor,
    Image,
    Essentials,
    Paragraph,
    Bold,
    Italic
} from 'ckeditor5';
Important: please use CKEditor 5 of version 42 or newer and import all its standard components from the NPM package ckeditor5 (but not from legacy @ckeditor/* ones). Otherwise, you will catch an inevitable runtime error related to the double initialization of CKEditor plugins.
2. Pass them among other plugins into the create() method of CKEditor 5:
ClassicEditor.create(
    document.querySelector('#editor'), // your editor selector
    {
        plugins: [
            Essentials,
            Paragraph,
            Bold,
            Italic,
            Image, // the standard image plugin (required)
            Flmngr // Flmngr plugin
        ],
        Flmngr: {
            // Get your API key in the Dashboard:  https://flmngr.com/dashboard
            // apiKey: "..."
        },
        toolbar: [
            'bold',
            'italic',
            '|',
            'upload', // three
            'flmngr', // buttons
            'imgpen'  // of Flmngr
        ],
    }
).then( editor => {
    console.log('Editor was initialized');
    console.log(editor);
} ).catch( error => {
    console.error(error.stack);
} );
Install the backend
Follow server installation manual on your server where you would like to store files and images for the file manager.
Be sure that you've specified your API key in the client installation and link it to the server using Dashboard.
Rebuild CKEditor 5
Rebuild your custom CKEditor 5 build with new enabled Flmngr file manager plugin.
Usually, you do this with the command run from the directory with CKEditor 5 project:
npm run buildAs a result, you will have an updated build/ckeditor.js file you can use on your website. Copy it there if your build process does not automatize this yet.
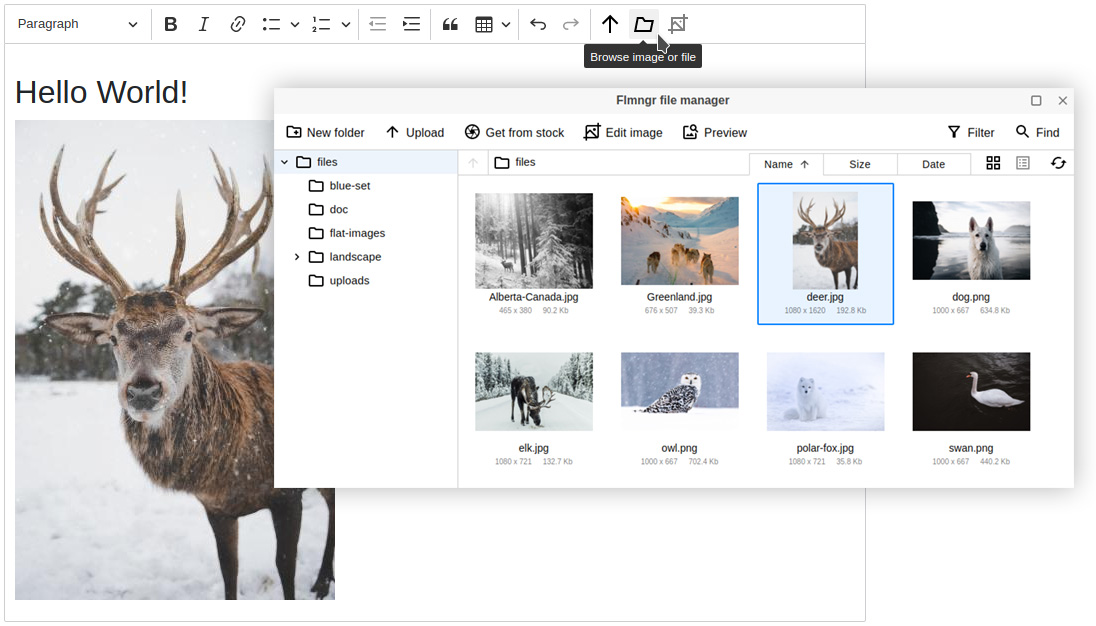
If you did everything correctly, at this moment, you have CKEditor 5 with the Flmngr plugin working on your page.
Ready to use
Customize
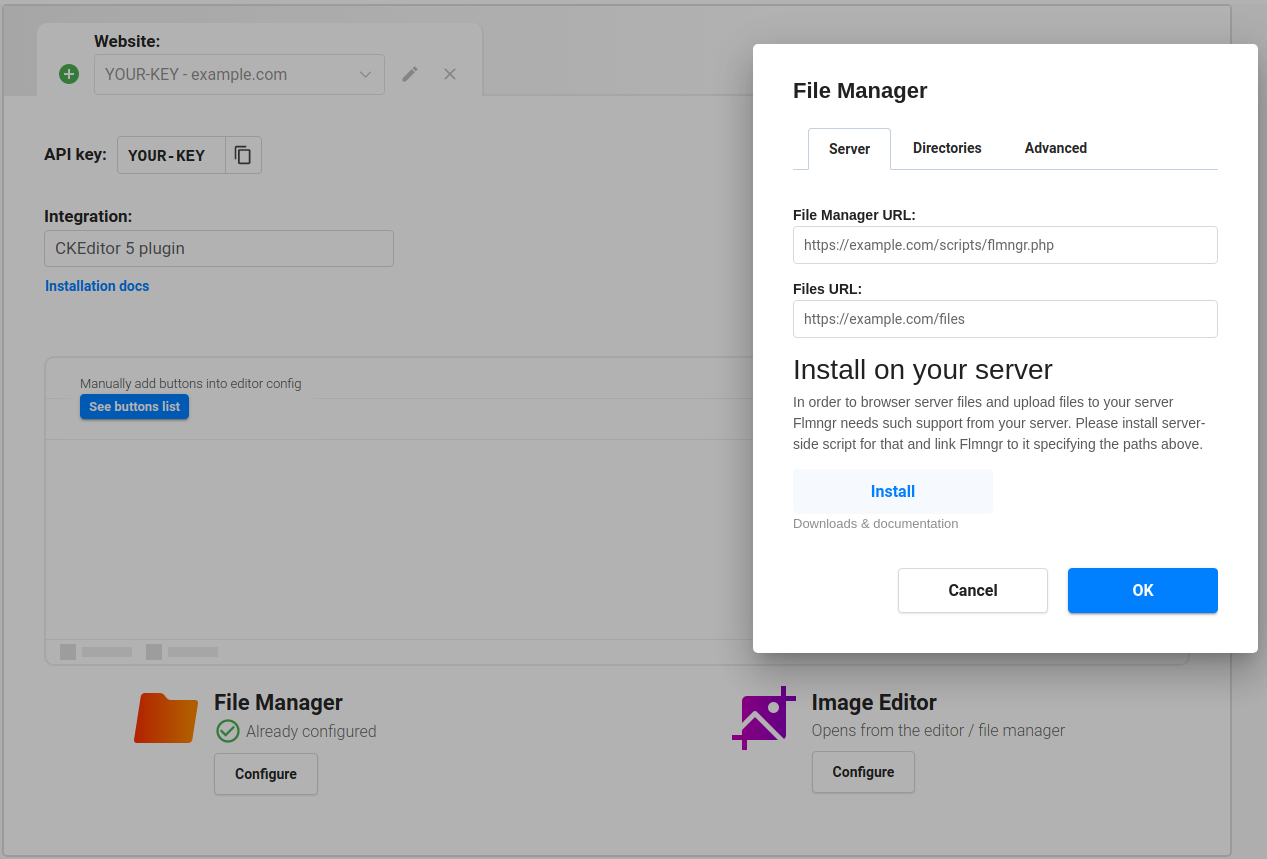
Configure CKEditor 5 file manager visually inside the Dashboard. This configuration can be dynamically overridden by passing API parameters directly.
Samples
There is a sample of CKEditor 5 with the file manager installation and using its API:

You can also check our own CKEditor 5 build with Flmngr included:
This build can be directly used as ready-to-use build.